
This baked vegan veggie balls recipe brimming with healthy cruciferous vegetables is easy to make and bake to golden brown goodness without added oil.
Vegetable balls may not be the first thing that comes to mind when I talk about a grated carrot, Brussels sprouts, and cabbage, but trust me, these are veggie gems in disguise.

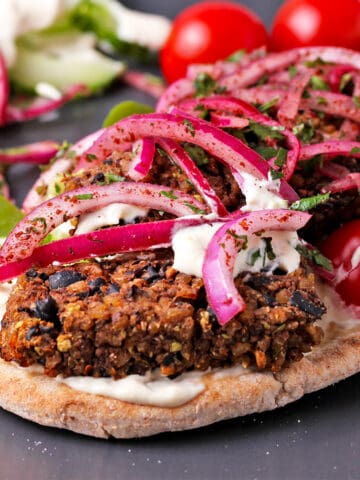
Enjoy veggie balls in salads, stuffed into homemade baked pitas, or as street food appetizers with vegan garlic aioli, spicy sriracha tahini dressing, or creamy oil-free beet hummus.
Table of Contents
⭐ Why You'll Love This Recipe
- Reduce food waste by using leftover veggies from the crisper. Add bits and pieces, including fresh herbs, then adjust the amount of dry ingredients if needed.
- Bake for 20 minutes in a hot oven or air fryer.
- A healthy recipe that requires no oil that's powered by common, inexpensive vegetables.
📋 Recipe Ingredients
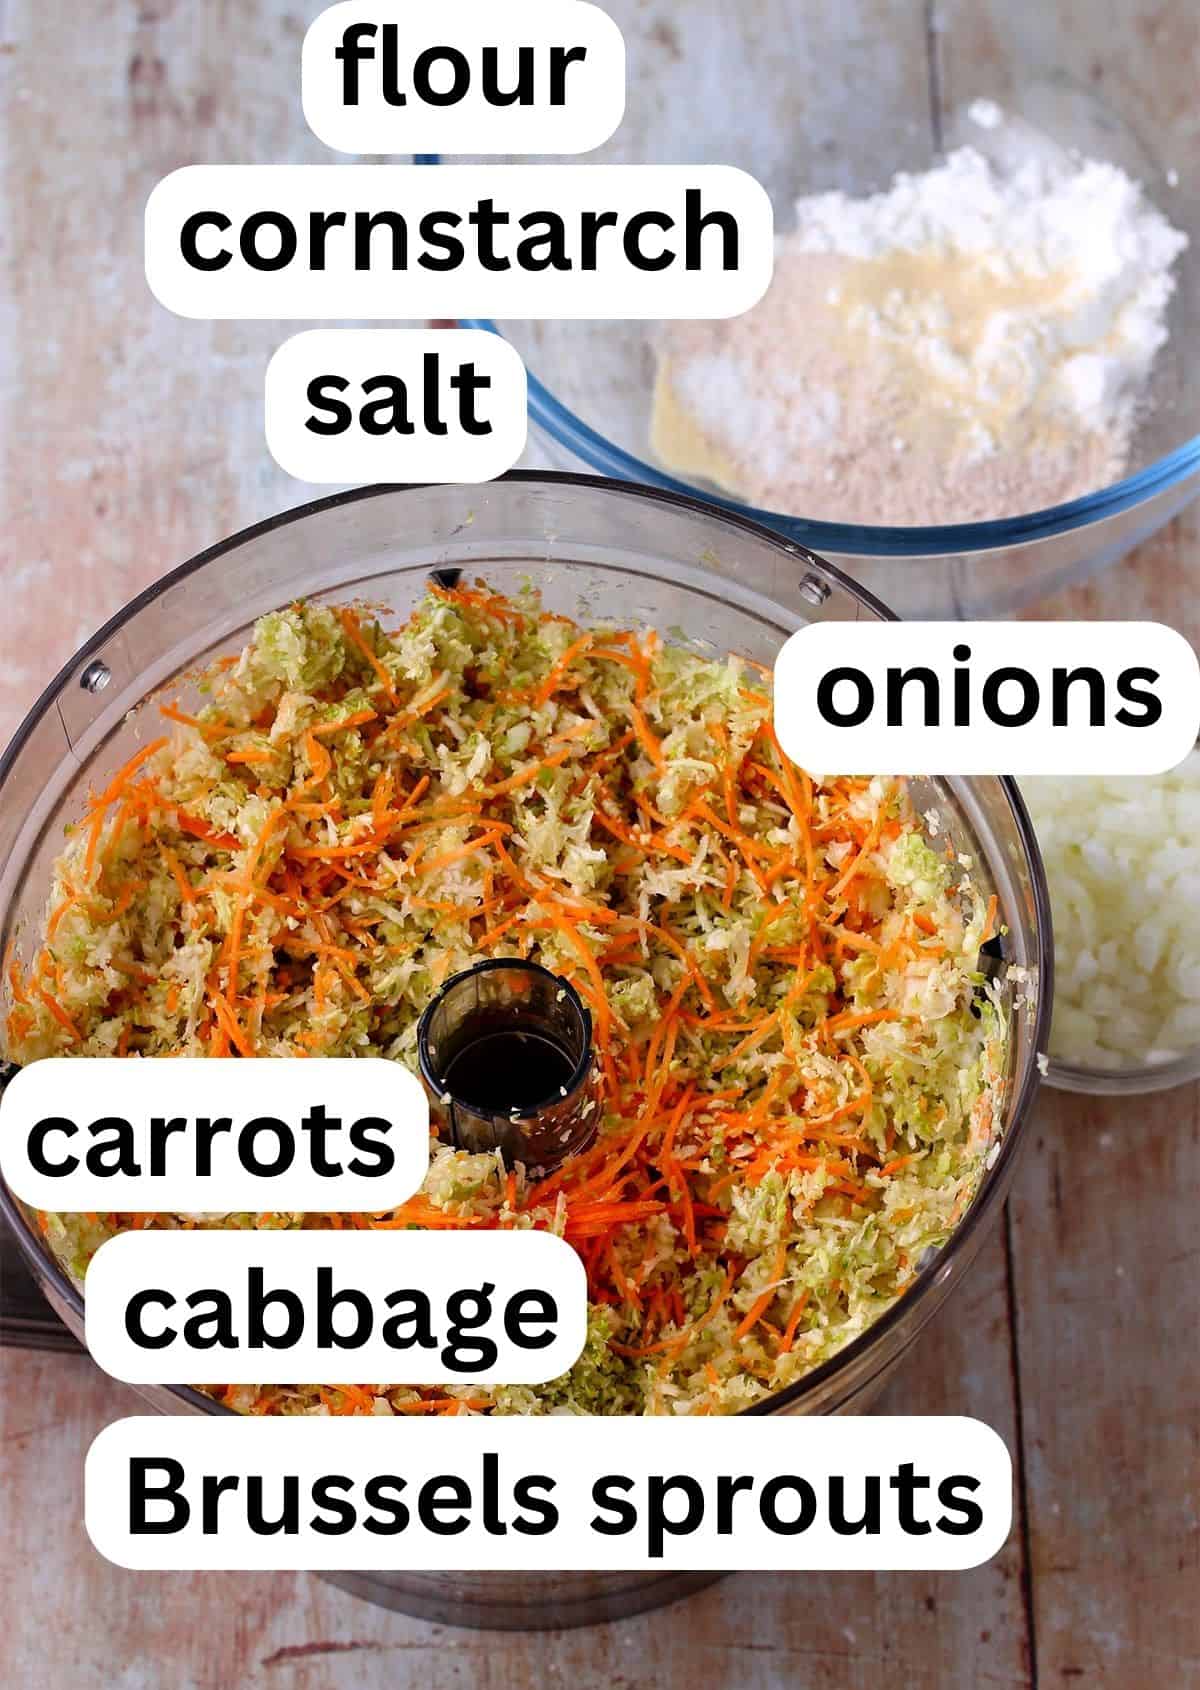
Grated vegetables. My favorite combinations for this recipe are carrots, cabbage, and Brussels sprouts.
Onions. Use ½ a cup of finely diced yellow or red onion.
Flour. I've tested this recipe with whole wheat flour, strong wheat flour, and chickpea flour. You can also use all-purpose flour or gluten-free quinoa or oat flour.
Please see the recipe card at the bottom of this post for the complete list of ingredients with measurements plus recipe instructions.
📖 Recipe Variations
Different vegetables, such as red bell peppers, a few green peas, or shredded zucchini, are good veggie options to add.
Consider this veggie ball recipe as a blank palate for spices. Depending on the moment, I've added a pinch of Thai spiced curry powder, homemade garam masala blend, fiery Berbere spice mix, and my special chili powder blend. Or add a little bit of nutritional yeast for a salty, slightly cheesy flavor.
Want to save this recipe? 🥣
🔪 Step-by-Step Instructions
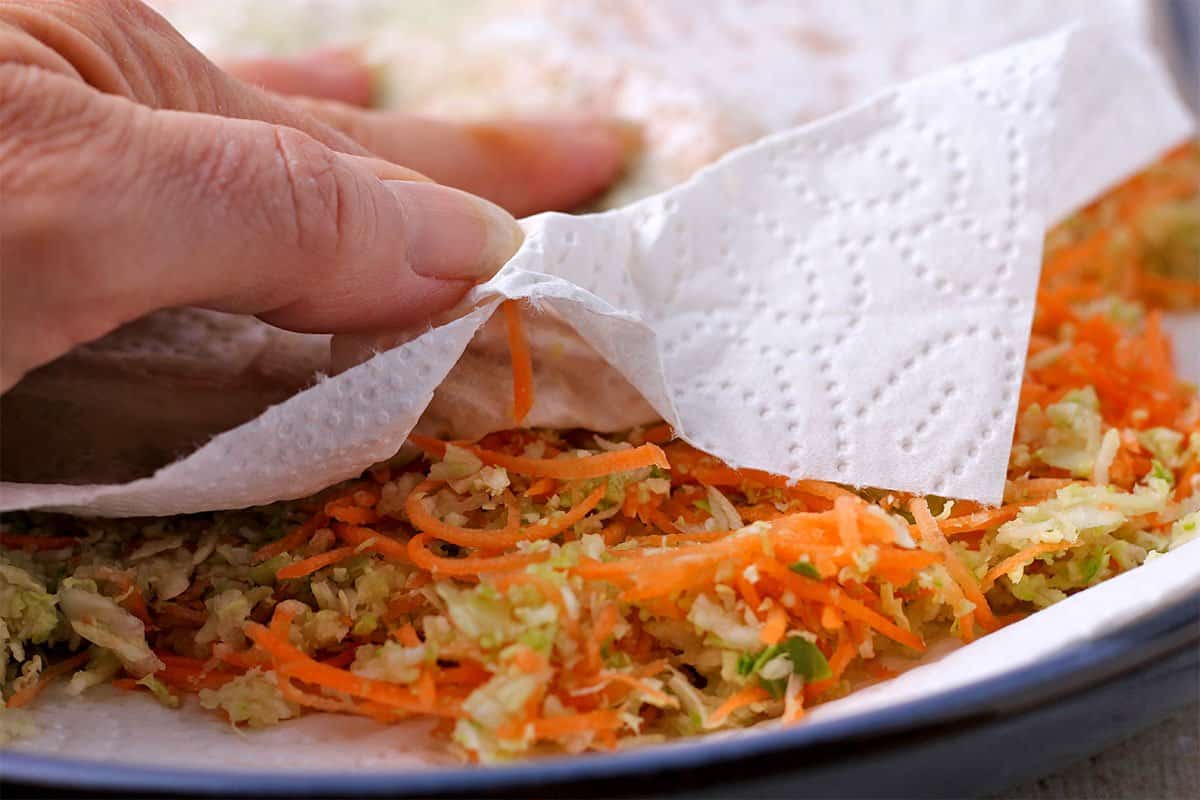
Step 1: Grate or finely chop the veggies. Lay them between a few sheets of paper towels and press to release excess water.
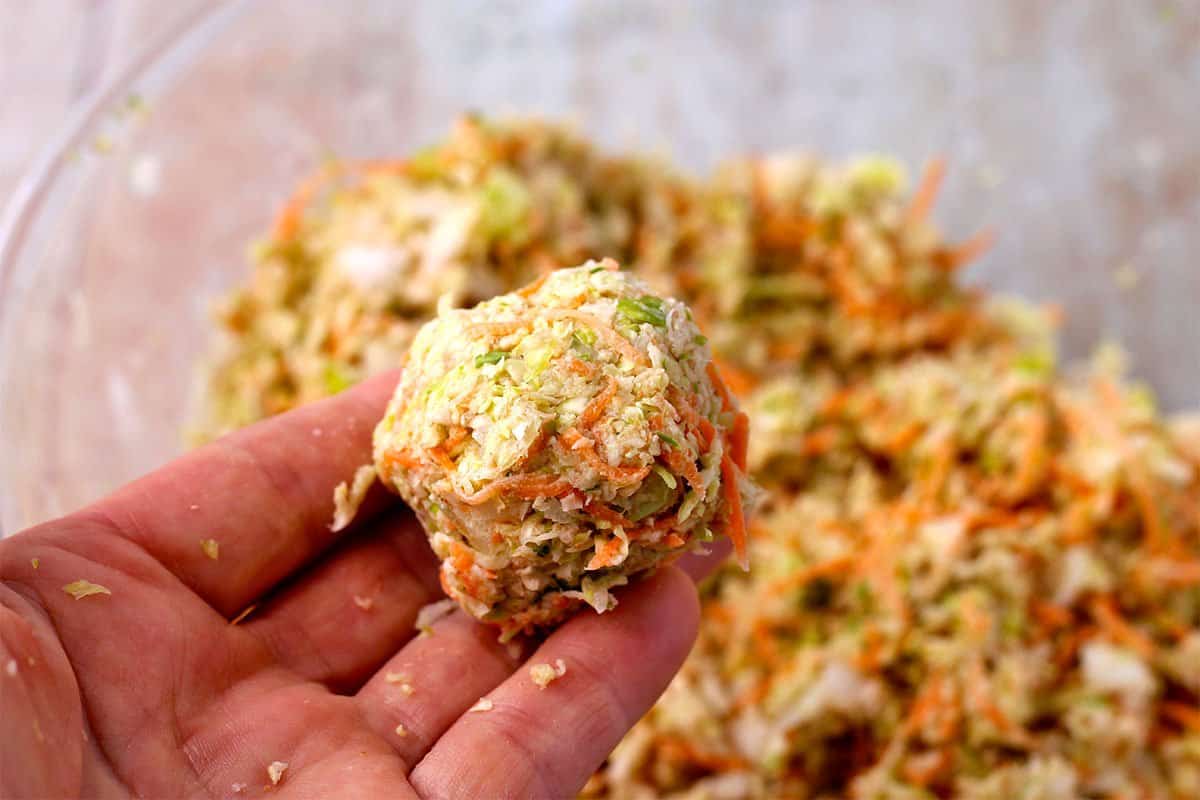
Step 2: Place the veggies in a large bowl, then add the dry ingredients. Knead with your hands until you can form small balls that don't fall apart.
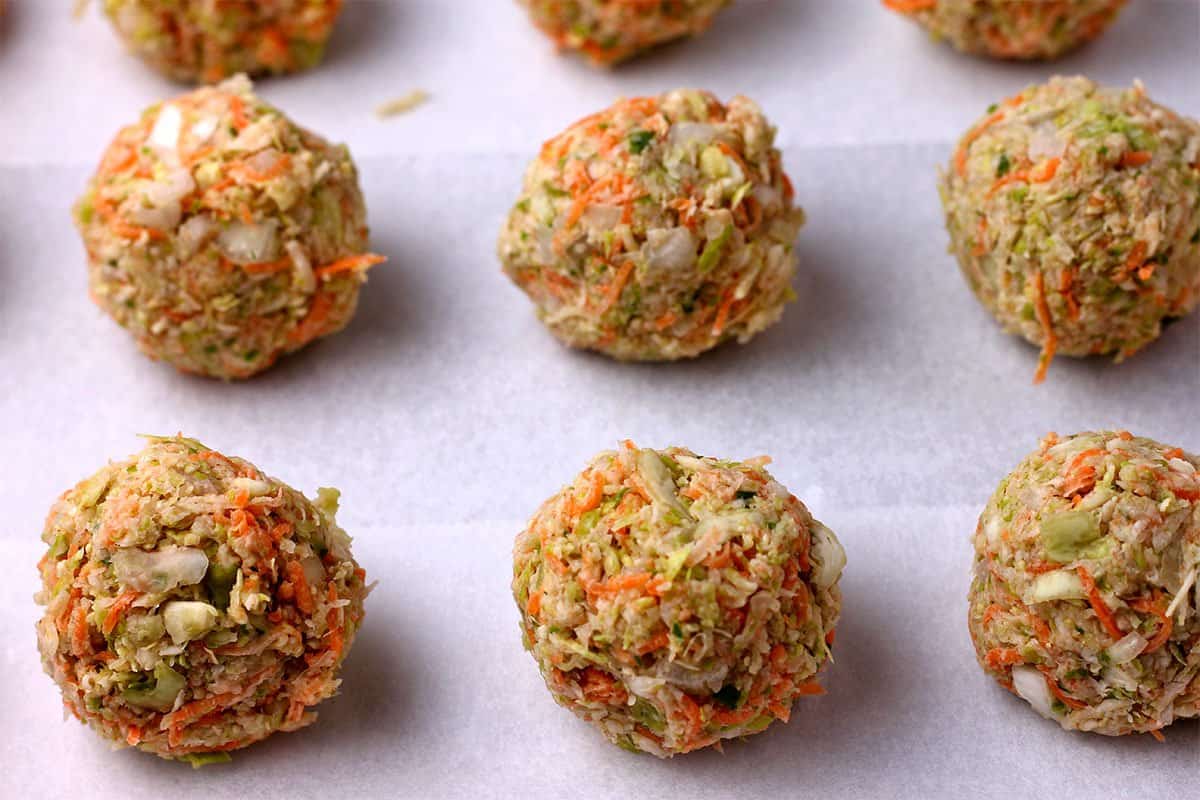
Step 3: Line a baking sheet with parchment paper and form small balls, no bigger than a golf ball. Separate them in a single layer on the tray.
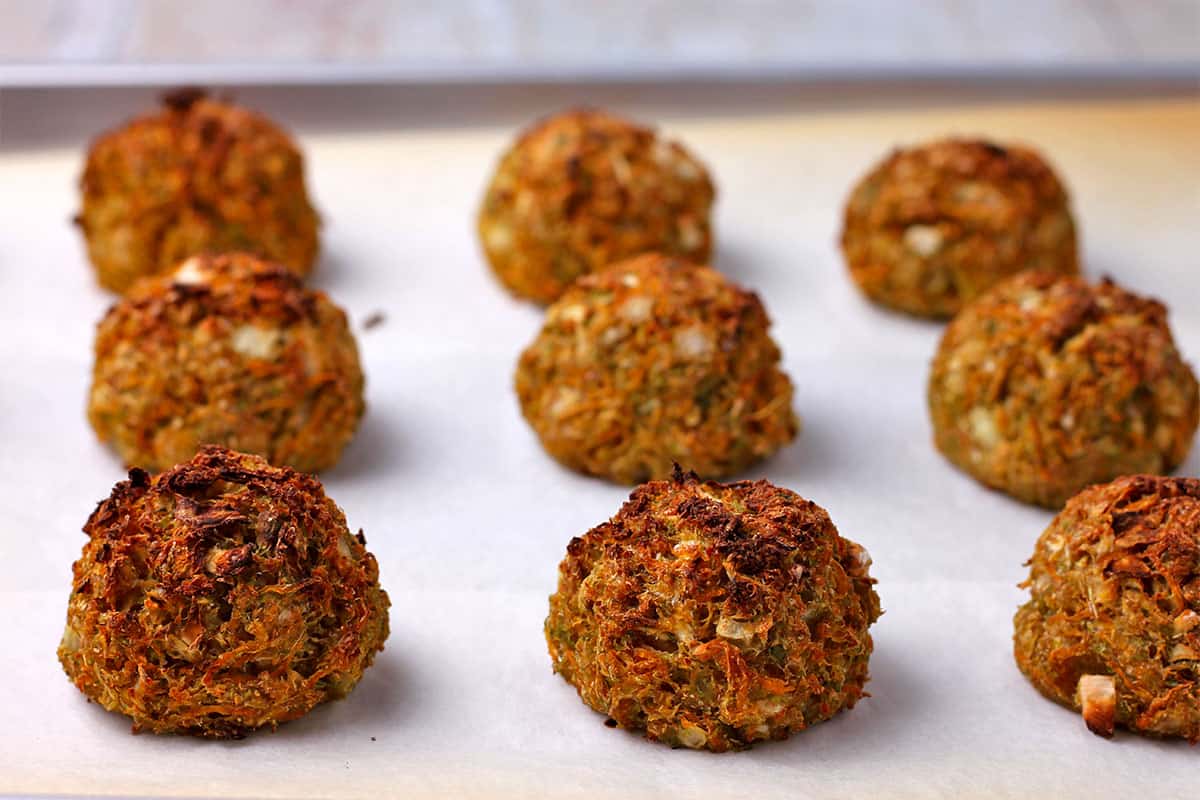
Step 4: Bake for 15-20 minutes until they are firm and golden brown.
Air Fryer Instructions
Lay the veggie balls in a single layer in the air fryer basked. Air fry at 400 F. (200 C.) for 10-12 minutes. Check after 6 minutes and remove them once they are firm and brown.
⏲️ Pro Tips
Use the fine grating blade in your food processor for easy prep. And always, always press the moisture from the veggies.
I learned from making baked veggie pakoras with chickpea flour that mixing flour with your hand is the best way to mix raw vegetables with flour.
A preheated oven or air fryer is the secret to making veggie meatballs.
🍴 Serving Suggestions
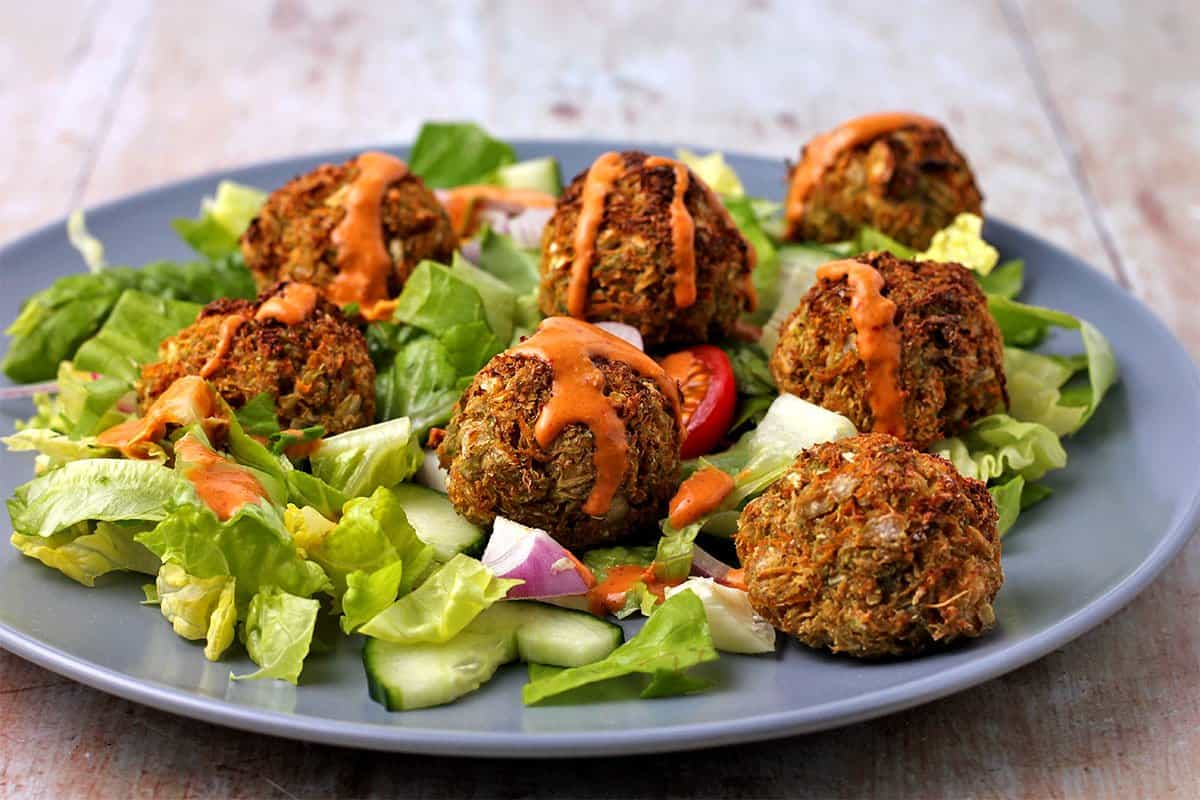
Veggie balls make healthy snacks dipped in everything from tomato ketchup to homemade dipping sauces. They are also great over spaghetti or whole grains like brown rice or quick Instant Pot barley and a flavorful sauce like plant-based cauliflower bechamel or basic Instant Pot tomato sauce.
💭 Frequently Asked Questions
Adding ½ a cup of mashed chickpeas (garbanzo beans or black beans condenses the texture of the veggie balls. You won't need as much flour, so add it in stages as you continue to mix the veggie ball dough. If you want added protein for these vegan meatballs, consider adding a tablespoon of pea protein powder or flax seeds.
Store veggie balls in an airtight container for 4 days or freeze for 3 months. Wrap them in foil before reheating them in a hot oven. Reheat unwrapped in the air fryer for 3-5 minutes.
Rolling veggie balls in panko or breadcrumbs right before baking adds a crunchy coating. Because breadcrumbs brown quickly, you'll need to flip the veggie balls halfway through cooking. Flipping may cause them to lose their ball shape a little.
🍽 More Vegan Recipes


Hungry for more? Subscribe to my newsletter and follow me on Facebook, Pinterest, and Instagram for all the newest recipes!
👩🏻🍳 Recipe

Baked Vegan Veggie Balls Recipe (Oil-Free)
Rate this Recipe:
Ingredients
- 1 cup carrots - grated, 1-2 carrots
- 1 cup cabbage - shredded
- 1 cup Brussels sprouts - shredded
- ½ cup onion - finely diced
- ⅓ cup whole wheat flour - see notes
- 2 tablespoons cornstarch
- ½ teaspoon salt
- ½ teaspoon black pepper
Instructions
- Finely chop the onion and add it to a large bowl.
- Grate or shred the veggies using a hand grater or food processor on a fine blade.
- Place the veggies between a few paper towels and press them to dry. Or add them to a colander and press them with the back of a wooden spoon. Add the veggies to the bowl with the onions.
- Preheat the oven to 425 F (220 C). Line a baking tray with parchment paper.
- Combine the flour, cornstarch, and salt in a small bowl.
- Add half the flour mixture to the veggies and use your hands to massage it in. Continue adding flour until you can form balls that hold together.
- Make 9-12 small balls, the size of a walnut or ping-pong ball, and add them into a single layer on the baking sheet.
- Bake for 20 minutes or until the balls are firm and golden brown. Resist the urge to flip them, as this will flatten them.
- Serve hot or at room temperature.
How to cook veggie balls in the air fryer
- Lay the veggie balls in a single layer in the air fryer basked. Air fry at 400 F. (200 C.) for 10-12 minutes. Check after 6 minutes and remove them once they are firm and brown.
Notes
- Use any flour you like, including all-purpose flour or gluten-free oat flour, quinoa, or chickpea flour. You may need to adjust the amount depending on the type you use.
- The dough will start to accumulate moisture quickly, so be sure you preheat the oven and get the balls baking as soon as you get them on the baking tray.
- Store veggie balls in an airtight container for 4 days or freeze for 3 months. Wrap them in foil before reheating them in a hot oven. Reheat unwrapped in the air fryer for 3-5 minutes.
Nutrition
Nutritional information is an estimation only.


Samantha says
Looking forward to trying these! What temp do they bake at? Thanks so much!
Denise says
Hi Samantha, oh goodness, I left off the baking temperature. You'll want to bake at 400 F (200 C). I'm going in now to fix that in the post. I hope you enjoy these. Let me know how it goes. Best, Denise.
Samantha Simons says
Wonderful, thank you! They're on the menu for tonight!